C# .NET 8中的自动映射器AutoMapper

在本文中,我们尝试展示什么是AutoMapper以及它如何与C#.NET 8一起工作。在 Asp.Net Core 8 上将 AutoMapper 与 EntityFramework Core 和 PostgreSql 结合使用。

简介:
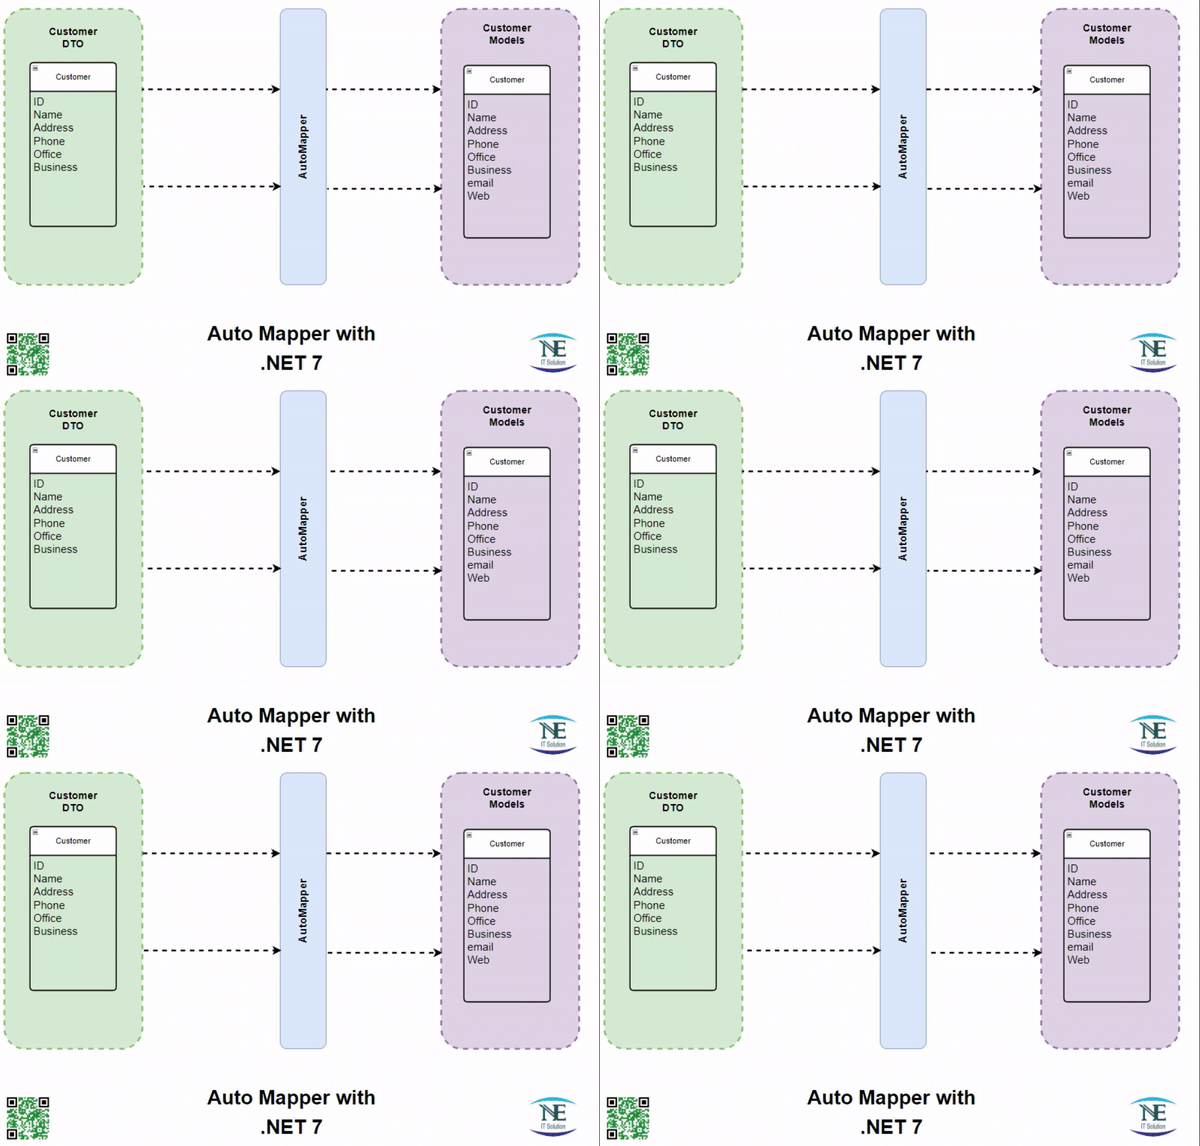
AutoMapper 是 C# 中用于 .NET 应用程序的常用对象到对象映射库。它简化了将属性从一个类映射到另一个类的过程,有助于减少样板代码并简化开发。AutoMapper 通常用于需要将一种类型的对象转换为另一种类型的对象(可能具有相似或不同结构)的方案。
AutoMapper 的主要功能包括:
**基于约定的映射:**AutoMapper 可以按照某些约定在源和目标类型之间自动映射具有匹配名称和类型的属性。在许多情况下,这减少了对显式配置的需求。
自定义映射: AutoMapper 允许您在默认约定不足时定义自定义映射。您可以指定应如何映射特定属性,并且可以对映射过程进行精细控制。
展平和展平: AutoMapper 可以处理扁平化(将嵌套对象中的属性合并到单个对象中)和取消扁平化(将属性拆分为嵌套对象)方案,使其适用于各种对象结构。
**支持依赖注入:**AutoMapper 与依赖项注入框架很好地集成,使其易于在 .NET Core 应用程序中使用。您可以将 IMapper 注入到您的服务和控制器中。
示例代码:
public class Customer
{
    [Key]
    [DatabaseGenerated(DatabaseGeneratedOption.Identity)]
    public int CustomerId { get; set; }
    public string FirstName { get; set; }
    public string LastName { get; set; }
    public string Address { get; set; }
}

 public class CustomerResponse
 {
     public int CustomerId { get; set; }
     public string FirstName { get; set; }
     public string LastName { get; set; }
 }

public MappingProfile()
{
    CreateMap<Customer, CustomerResponse>();

   // Add other mappings if needed
}

// Usage
var orderResponse = _mapper.Map<CustomerResponse>(Customer);
创建项目:
预要求
1. 带有 Visual Studio 2022 的 .NET 7 SDK
2.具有 PG Admin
3 的 PostgreSQL 服务器。AutoMapper 软件包
**步骤-01:**使用 Visual Studio 2022 中的 .NET 8 SDK 创建 .net web api 项目
**步骤-02:**安装所需的软件包
dotnet add package Microsoft.EntityFrameworkCore.Design
dotnet add package Microsoft.EntityFrameworkCore.Tools
dotnet add package Npgsql.EntityFrameworkCore.PostgreSQL
dotnet add package AutoMapper
**步骤-03:**在 appsettings.json 中配置数据库连接字符串
"ConnectionStrings": {
  "DefaultConnection": "Server=<ServerName>;Port=<PortNumber>;Database=<Your_Database>;;Username=<Your_Username>;Password=<Your_Password>"
},"Schema": {
    "YourDataSchema": "YourDataSchema"
  },
步骤-04: 定义所有模型/域类
public class Customer
{
    [Key]
    [DatabaseGenerated(DatabaseGeneratedOption.Identity)]
    public int CustomerId { get; set; }
    public string FirstName { get; set; }
    public string LastName { get; set; }
    public string Address { get; set; }
}

 public class CustomerResponse
 {
     public int CustomerId { get; set; }
     public string FirstName { get; set; }
     public string LastName { get; set; }
 }

public MappingProfile()
{
    CreateMap<Customer, CustomerResponse>();

   // Add other mappings if needed
}
步骤-05: 在项目 AppDbContext 文件中添加 DbContex 代码Add DbContex code at your project AppDbContext file
public class AppDbContext : DbContext
{
    public AppDbContext(DbContextOptions<AppDbContext> options) : base(options) { }

    public DbSet<TodoItem> TodoItems { get; set; }
}
步骤-06: 现在更新数据库配置的program.cs文件
builder.Services.AddDbContext<AppDbContext>(options =>
        options.UseNpgsql(Configuration.GetConnectionString("DefaultConnection"),
        x=>x.MigrationsHistoryTable("_EfMigrations", Configuration.GetSection("Schema").GetSection("<YourDataSchema>").Value)));
最后:检查你的项目依赖注入和其他必要的程序.cs文件。然后,如果您确认,只需运行并检查您的项目
源代码获取:公众号回复消息【code:69935】

 code:69935 获取下载地址