.net C# 设计模式:实现管道设计模式
通过实际示例了解管道设计模式。
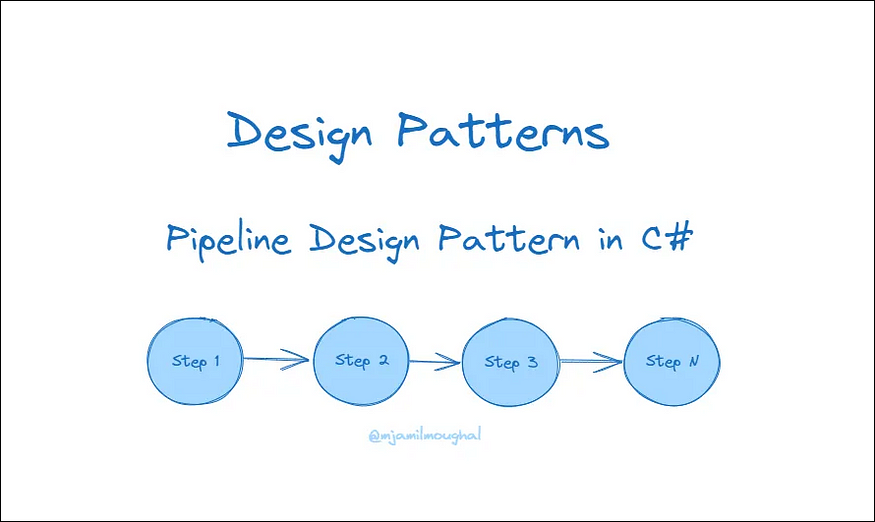
什么是管道设计模式?
流水线设计模式是一种软件设计模式,它以线性顺序处理或执行一系列步骤或阶段。它允许您将复杂的任务分解为可以按顺序执行的更小的模块化步骤或阶段。每个步骤都是从上一步获取输入,执行其特定功能并为下一步生成输出。
流水线设计模式通过将每个步骤的逻辑封装在单独的组件或类中来促进关注点的分离并提高可维护性。它还实现了可扩展性和灵活性的简化,因为可以添加新步骤并修改现有步骤,而不会影响整个管道。
管道设计模式的关键元素
步骤: 步骤是对输入数据执行特定任务的单个组件或类。
输入和输出: 每个步骤都是获取输入、处理并生成下一步的输出数据。
次序: 设置管道时,将按预定义的顺序执行步骤。
上下文: 上下文是一个可选的共享对象,可以在步骤之间传递,其中包含与整个管道相关的数据或状态。
在 C# 语言中实现
让我们看一些真实世界的场景。假设我们正在处理一个具有一些图像处理功能的项目。它具有多种功能,例如加载、过滤和保存图像。这三个功能可能有一些复杂而详细的实现,例如:
加载图像有不同的策略来加载图像,例如从本地计算机、谷歌驱动器、azure blob 等加载图像。
过滤图像具有模糊过滤、棕褐色过滤和灰度过滤等策略。
保存图像有不同的存储逻辑,例如存储图像格式,将其转换为pdf并存储。并将其存储在本地计算机或云上。
这些是我们的图像处理器的功能。这三个功能是完全不同的,可以作为单独的模块实现。
首先,我们有一个 Image 类:
// Image class
public class Image
{
    // Properties and methods of the image
}
然后我们有一个 IPipelineContext 接口,它可能具有一些通用的方法和属性。
// Pipeline context interface
public interface IPipelineContext
{
    // Common context properties and methods
}
我们有一个 IPipelineStep 接口,它有一个 Execute 方法,管道的每一步都将实现这个接口。
// Pipeline step interface
public interface IPipelineStep
{
    void Execute(IPipelineContext context);
}
现在我们正在实现第一步,即 ImageLoading 步骤。它正在实现IPipelineStep接口。
// Image loading step
public class ImageLoadingStep : IPipelineStep
{
    public void Execute(IPipelineContext context)
    {
        // Load the image from a file or any source
    }
}
下一步是ImageFiltration步骤,它也是从IPipeline步骤继承而来的。
// Image filtering step
public class ImageFilteringStep : IPipelineStep
{
    public void Execute(IPipelineContext context)
    {
        Image image = context as Image;
        if (image != null)
        {
            // Apply the filtering strategy to the image
        }
    }
}
最后一步是 ImageSavingStep,它也在实现 IPipelineStep。
// Image saving step
public class ImageSavingStep : IPipelineStep
{
    public void Execute(IPipelineContext context)
    {
        Image image = context as Image;
        if (image != null)
        {
            // Save the image to a file or any destination
        }
    }
}
我们已经实现了步骤,接下来是创建名为 ImageProcessingPipeline 的管道。此管道具有 AddStep 方法和另一个方法 ExecutePipeline。
// Image processing pipeline
public class ImageProcessingPipeline
{
    private readonly List<IPipelineStep> _steps;

    public ImageProcessingPipeline()
    {
        _steps = new List<IPipelineStep>();
    }

    public void AddStep(IPipelineStep step)
    {
        _steps.Add(step);
    }

    public void ExecutePipeline(IPipelineContext context)
    {
        foreach (var step in _steps)
        {
            step.Execute(context);
        }
    }
}
我们已经创建了管道和步骤。现在我们将使用这个管道,就像我们如何在代码中使用它一样。
//creating the Image object
        Image image = new Image();

        //creating and initializing pipeline
        ImageProcessingPipeline pipeline = new ImageProcessingPipeline();

        //creating ImageLoadingStep and adding in our pipeline
        pipeline.AddStep(new ImageLoadingStep());

        //creating ImageFilteringStep and adding in our pipeline
        pipeline.AddStep(new ImageFilteringStep());

        //creating ImagesAVINGStep and adding in our pipeline
        pipeline.AddStep(new ImageSavingStep());

        //when all steps are created, calling executepipeline function which will execute all steps
        pipeline.ExecutePipeline(image);
在上面的代码中,我们正在创建一个 Image 类的实例。然后,我们将创建和初始化管道对象并添加步骤。添加我们需要的所有步骤后,我们调用 ExecutePipeline 函数,该函数将执行所有步骤的方法。
没有必要在管道中添加所有步骤。我们可以添加更多步骤,也可以忽略一些步骤。但有些步骤是不容忽视的。例如,ImageLoadingStep 正在从某个源加载图像,如果我们不添加并执行此步骤,则不会加载图像,也不会执行其他步骤。